Welcome back to another installment of 5 Questions! If you would like to choose 5 Questions yourself, feel free to choose 5 from this form. Claire Nyles Suer Claire Nyles Suer, Continuing Resources & Database Management Specialist Tell us about what you do at ZSR Library? I play a part in a lot of the... Continue reading “5 Questions with Claire Nyles Suer” ›
Since 2022, graduate student Parker Beverly has been focusing her efforts on the collecting of oral history interviews through the Expanding Wake Voices: Inclusive Student Life project. Thanks to donor support, this important work continues to expand the History of Wake Forest oral history project, with a new focus on the student experience throughout the... Continue reading “Expanding Wake Voices Update” ›
This annual report was submitted to the Association of Librarians and Archivists at Baptist Institutions (ALABI). The North Carolina Baptist Historical Collection had another productive year for 2023. Among its activities were the following: Access: SCA hired Marcia Phillips as Metadata Technician (member of the Baptist State Convention of NC History Committee/Coordinator of the Davie... Continue reading “North Carolina Baptist Historical Collection Annual Report (2023)” ›
On Sunday, March 24th, the ZSR Library participated in the WFU Spring Equinox Celebration. This annual festive gathering of people, plants, and animals is hosted by the Office of Sustainability at the Campus Garden on Polo Road to kick off Wake Forest’s campuswide Earth Month. This was the third festival where ZSR had a table,... Continue reading “ZSR Little Free Libraries at the WFU Spring Equinox Festival” ›
Welcome back to another installment of 5 Questions! If you would like to choose 5 Questions yourself, feel free to choose 5 from this form. Molly Keener Molly Keener, Director of Digital Initiatives & Scholarly Communication What is a typical day in your work life? One of the things I enjoy most about my job... Continue reading “5 Questions with Molly Keener” ›
Special Collections & Archives and the ZSR Library hosted the Sam Gladding Writing Experience from Monday, January 29, through Friday, February 2, 2024. This event brought scholar(s)/writer(s) in residence to campus and facilitated interactions between the writer(s) and students, staff, and faculty. The event culminated with a Friday night event for students, giving them the... Continue reading “Sam Gladding Writing Experience 2024” ›
Last Fall Provost Gillespie and I co-taught LIB290: Archives and Primary Sources. We introduced our students to primary source research by exploring the rich archival resources surrounding the history of Wake Forest University and the Reynolds Family using the ZSR Library’s Special Collections & Archives, the Reynolda House Archives, and a vast array of online... Continue reading “LIB290 and Experiential Learning” ›
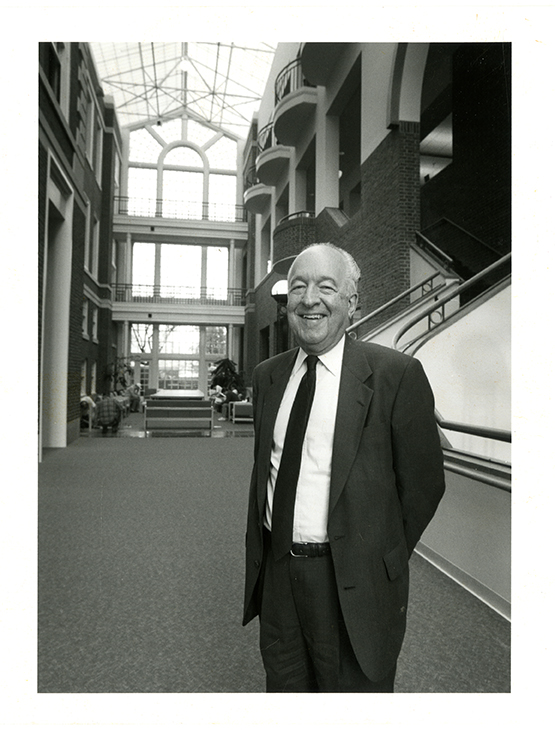
Wake Forest University has lost its favorite son. Dr. Wilson, also known as “Mr. Wake Forest” embodied so much about Wake Forest that is good and true and we will miss him terribly. The University has provided a memorial page so everyone can learn more about Dr. Wilson’s amazing life. We were fortunate to be... Continue reading “In Honor and Memory of Dr. Edwin G. Wilson (Mr. Wake Forest)” ›
It’s that time of year to share an update on everything Special Collections & Archives was able to accomplish in 2023. First and foremost, I would like to recognize the SCA team: Alayna, Ashelee, Beth, Craig, Emily, Kate, Marcia, Megan, Melde, Rebecca, and Stephanie as well as our student curatorial associates Parker and Tsing and... Continue reading “2023 Annual Report for Special Collections & Archives” ›